Moving Collections from One Community to Another
This guide explains the process of moving collections from one community to another in a straightforward way using the Batch Metadata Editing Tool.
Why Move Collections?
There may be times when we need to reorganize our items and collections. Moving collections from one community to another can help keep everything organized. Here’s a step-by-step guide on how to do it using the Batch Metadata Editing Tool.
Steps to Move a Collection
1. Identify the Collection to Move
Before we begin, locate the collection that you want to move to a new community.
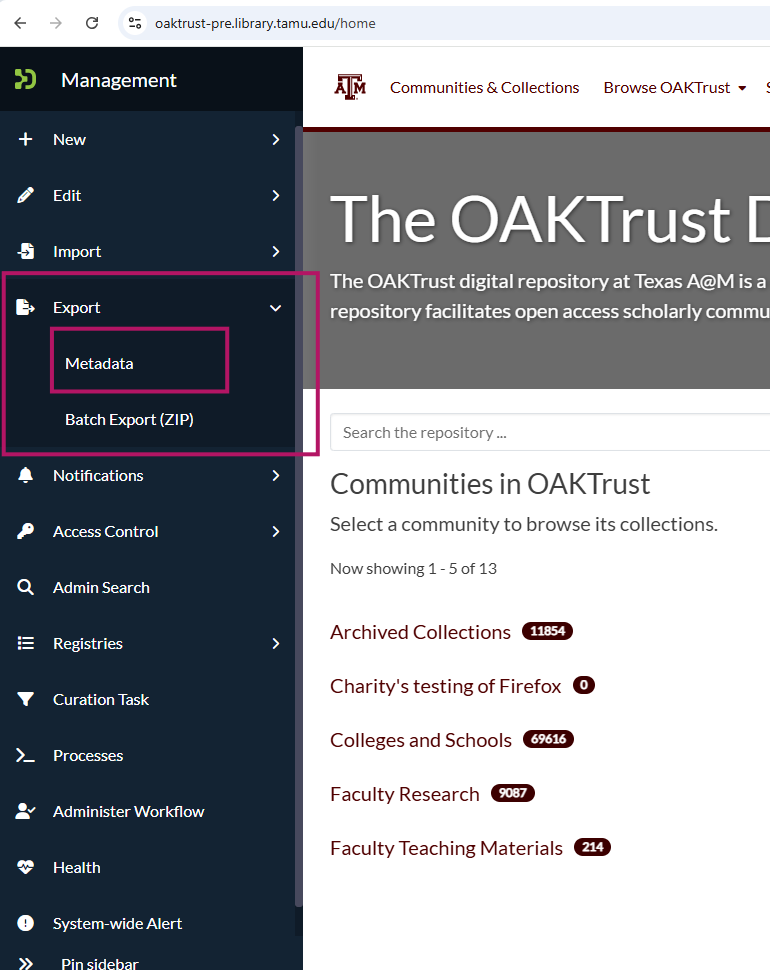
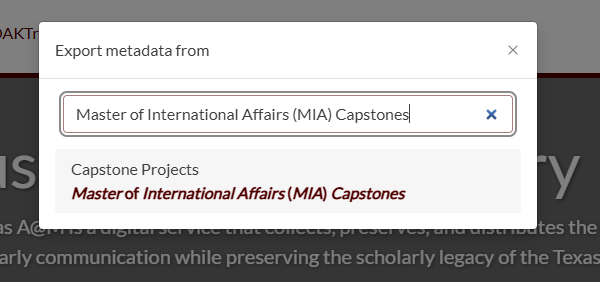
2. Export Metadata
Use the export tool to export the metadata of the collection you want to move.
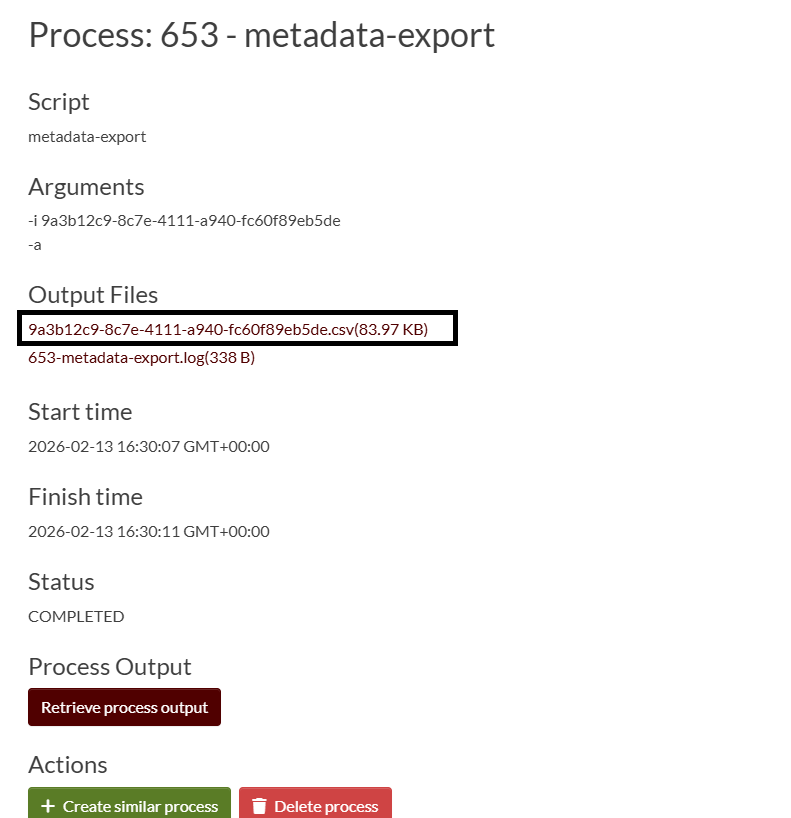
3. Download the CSV File
Once the metadata is exported, download the CSV file containing the collection details.
4. Go to the New Community
Navigate to the new community where you want to move the collection.
If the community already has the collection created, simply copy the collection handle. If the collection doesn’t exist yet, follow the steps below to create it.
5. Create or Use Existing Collection in the New Community
To create a new collection in the new community, follow these steps:
Log in to the DSpace UI as an administrator.
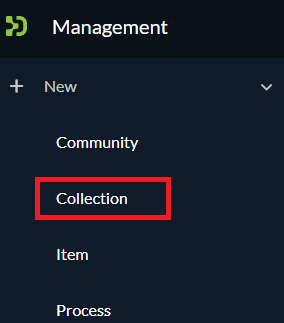
Navigate to the new community.
Click on the “Collection” option.
Fill out the collection’s metadata fields such as title, description, and any other required information.
After creating the collection, copy the collection handle from the DSpace UI. You will use this handle to update the CSV file.
If the collection already exists in the new community, simply copy the handle for that existing collection.
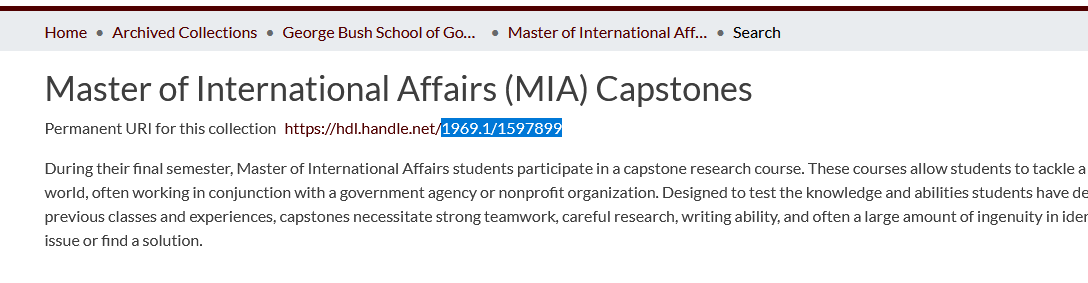
6. Copy the Handle of the New Collection
Once the collection is set up in the new community, copy the collection’s handle. This handle will be used to update the metadata.
7. Open the Downloaded CSV
Open the CSV file you downloaded earlier. This file contains the metadata for the collection you want to move.
8. Keep Only Relevant Columns
In the CSV file, remove all columns except for these three:
id
collection
local.department [en]
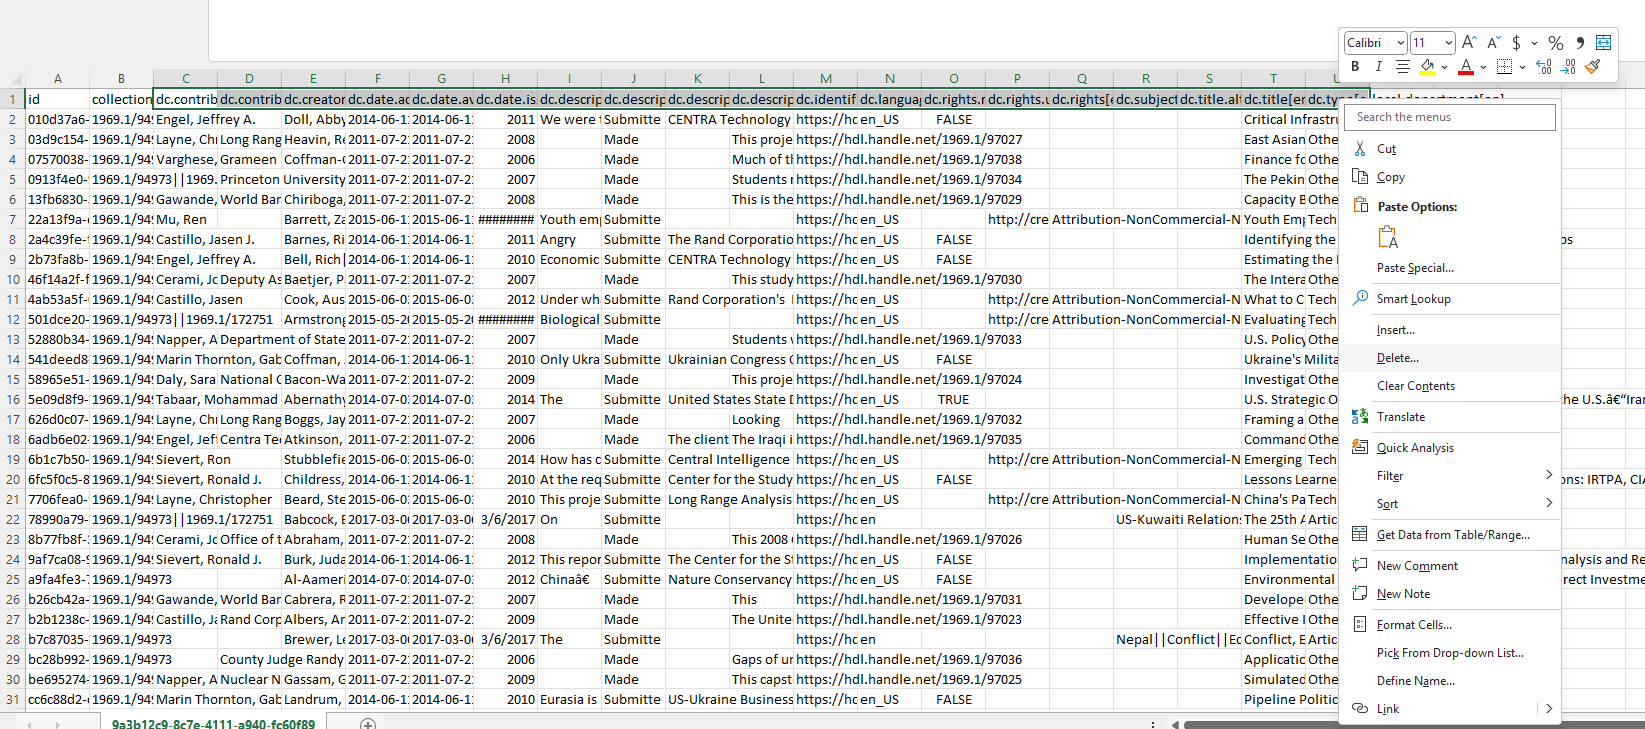
9. Update the Collection Handle
Now, update the “collection” column in the CSV file with the new collection handle. Be careful! Some collection handles may look like this: 1969.1/94973||1969.1/172751
Only update the first handle with the new one. Leave the second one as is.
10. Save the CSV File
Once you’ve made the necessary updates, save the CSV file.
11. Import Metadata into DSpace
Now, it’s time to upload the updated CSV file back into DSpace.
Go to the DSpace UI and select the “Import Process” option.
Choose “Import Metadata” from the available options.
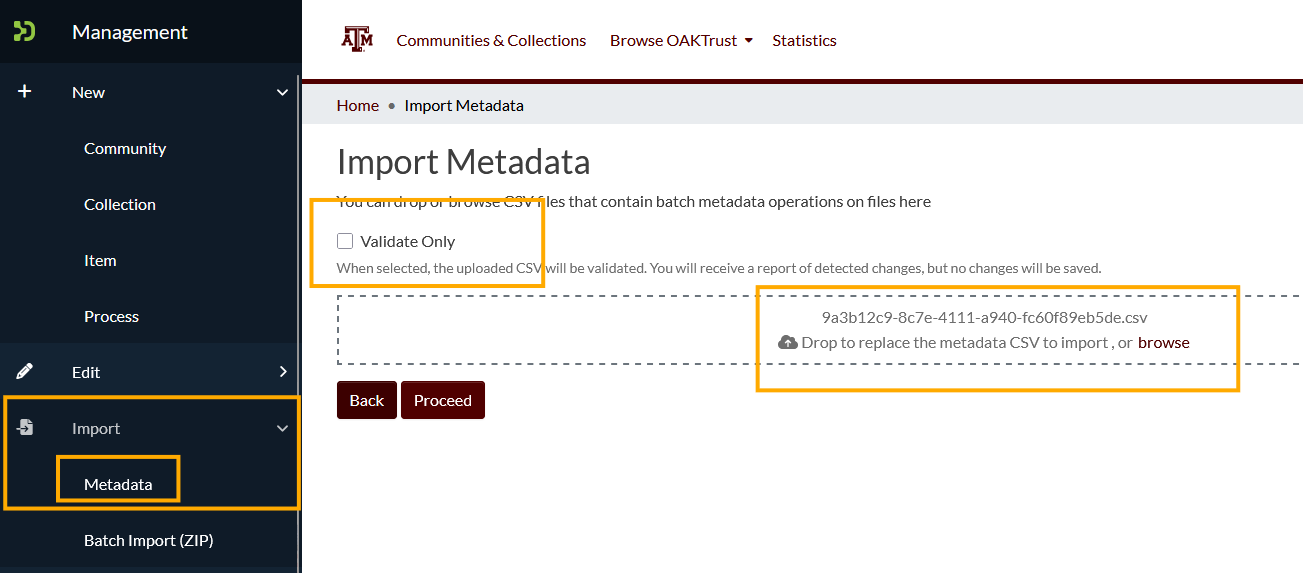
12. Upload the CSV and Complete the Process
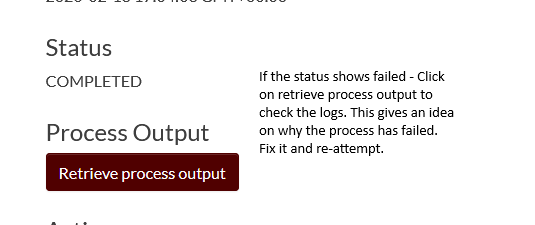
Upload your CSV file and watch as the items are automatically moved to the new collection in the new community!
Conclusion
That’s it! Your collection has been successfully moved from one community to another.