Minting DOIs in OJS
About
This document describes how to mint DOIs in OJS. If you are looking for information about minting DOIs in Crossref in a another application, see ../identifiers/minting_a_doi.
Requesting an ISSN
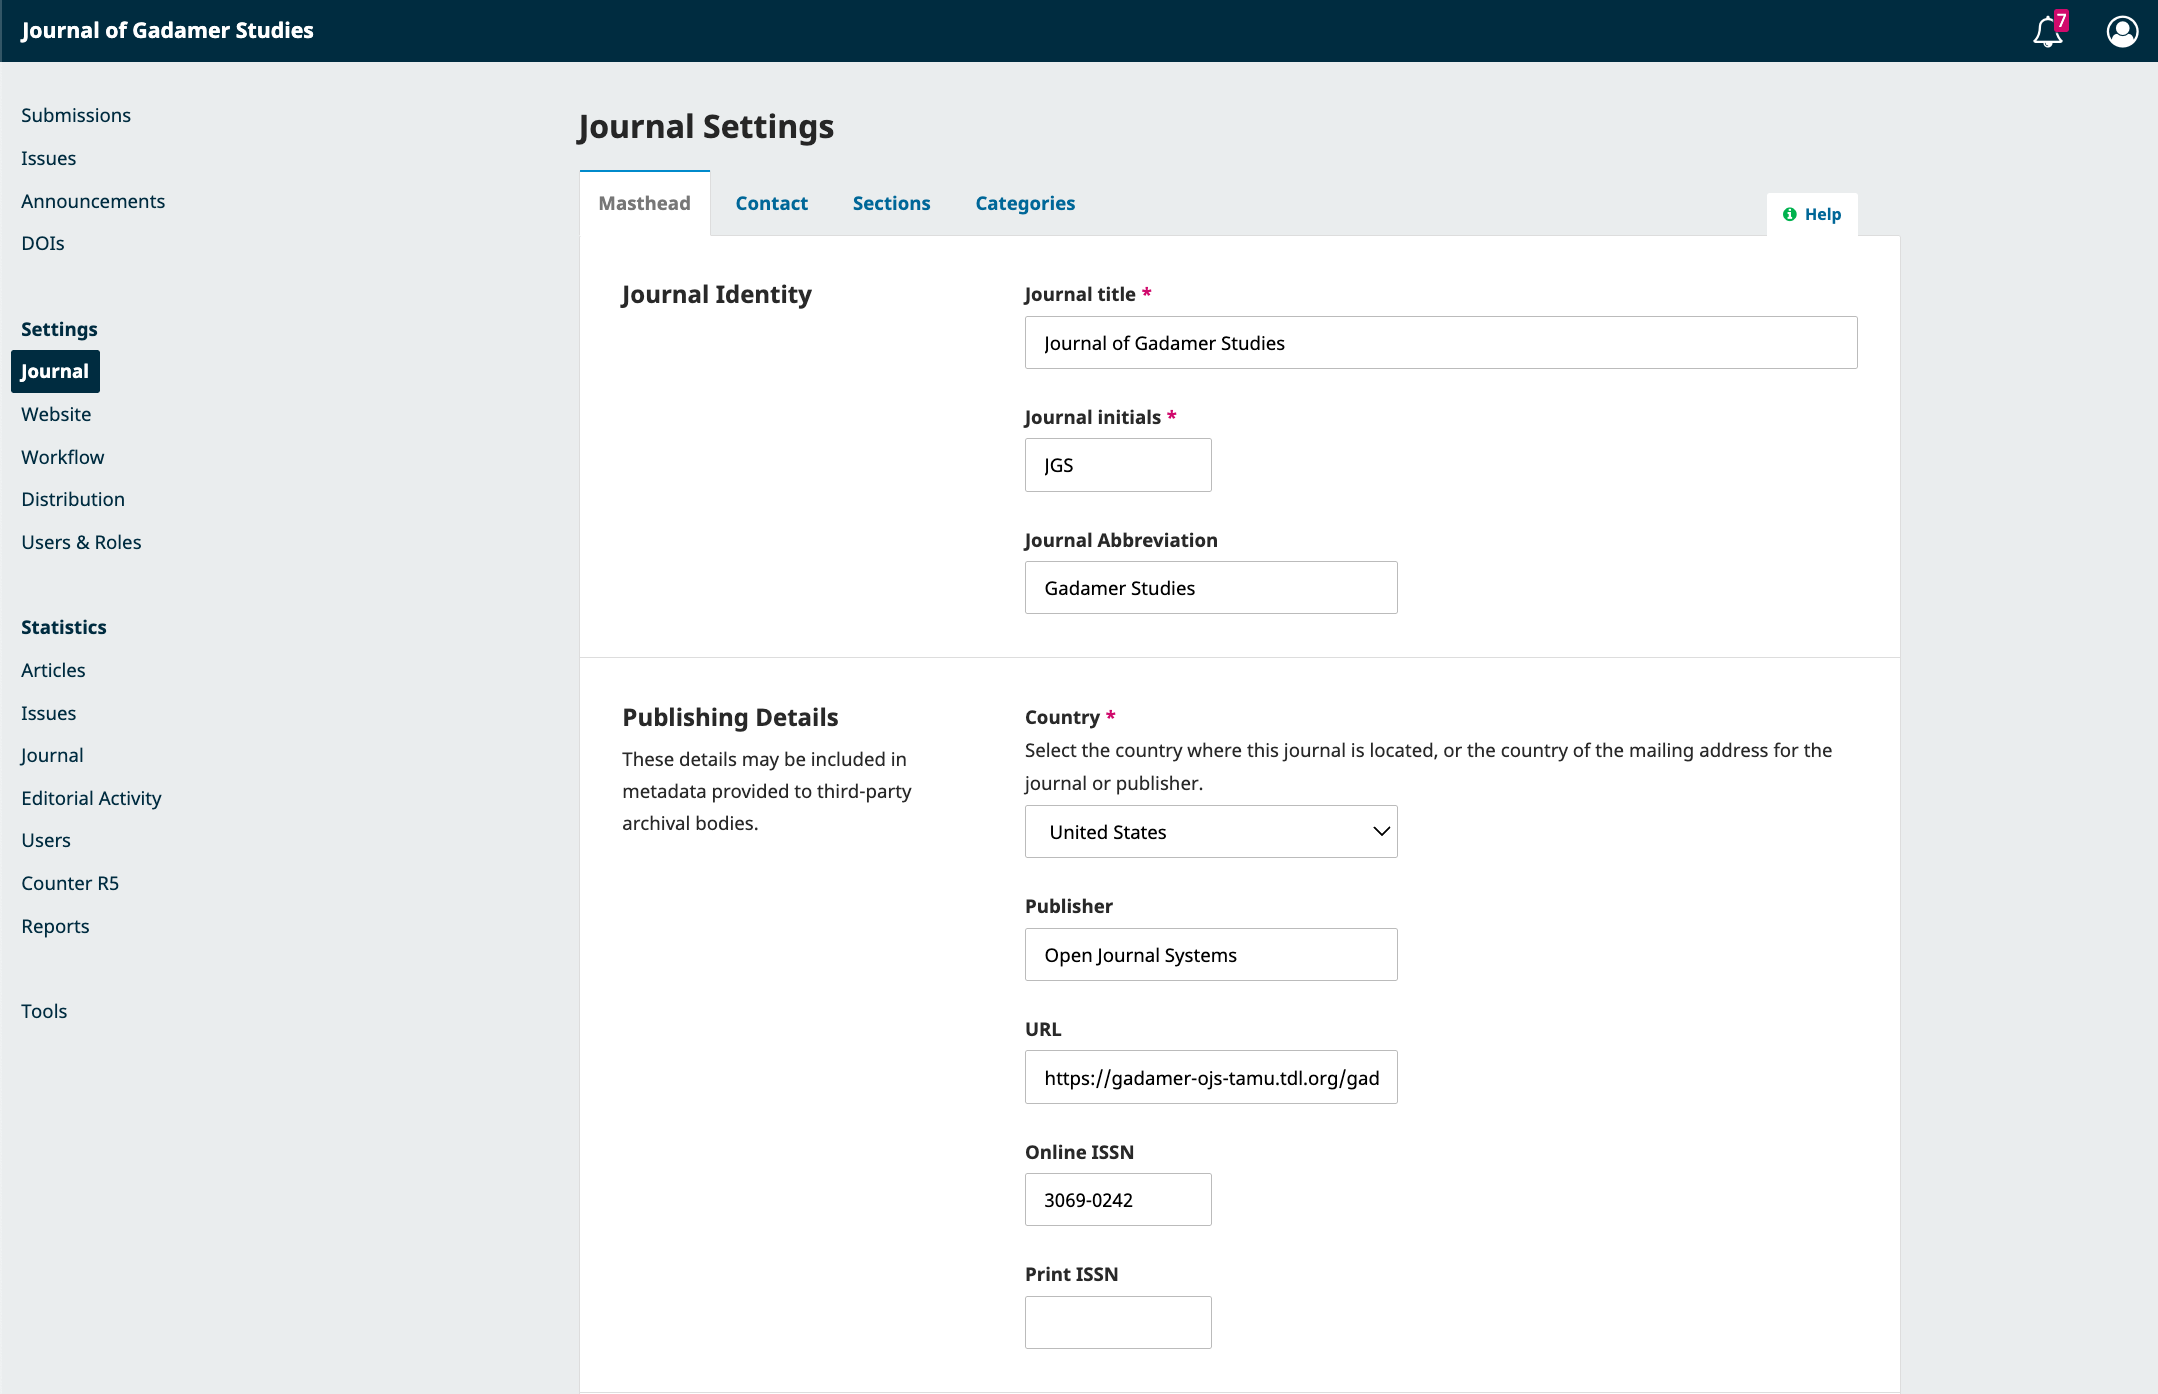
Before you setup DOI mintning, you should have acquired an ISSN. To request an ISSN, see Applying for an ISSN.
Once you have been provisionally awarded an ISSN, add it to Publishing Details.
Initial DOI Setup
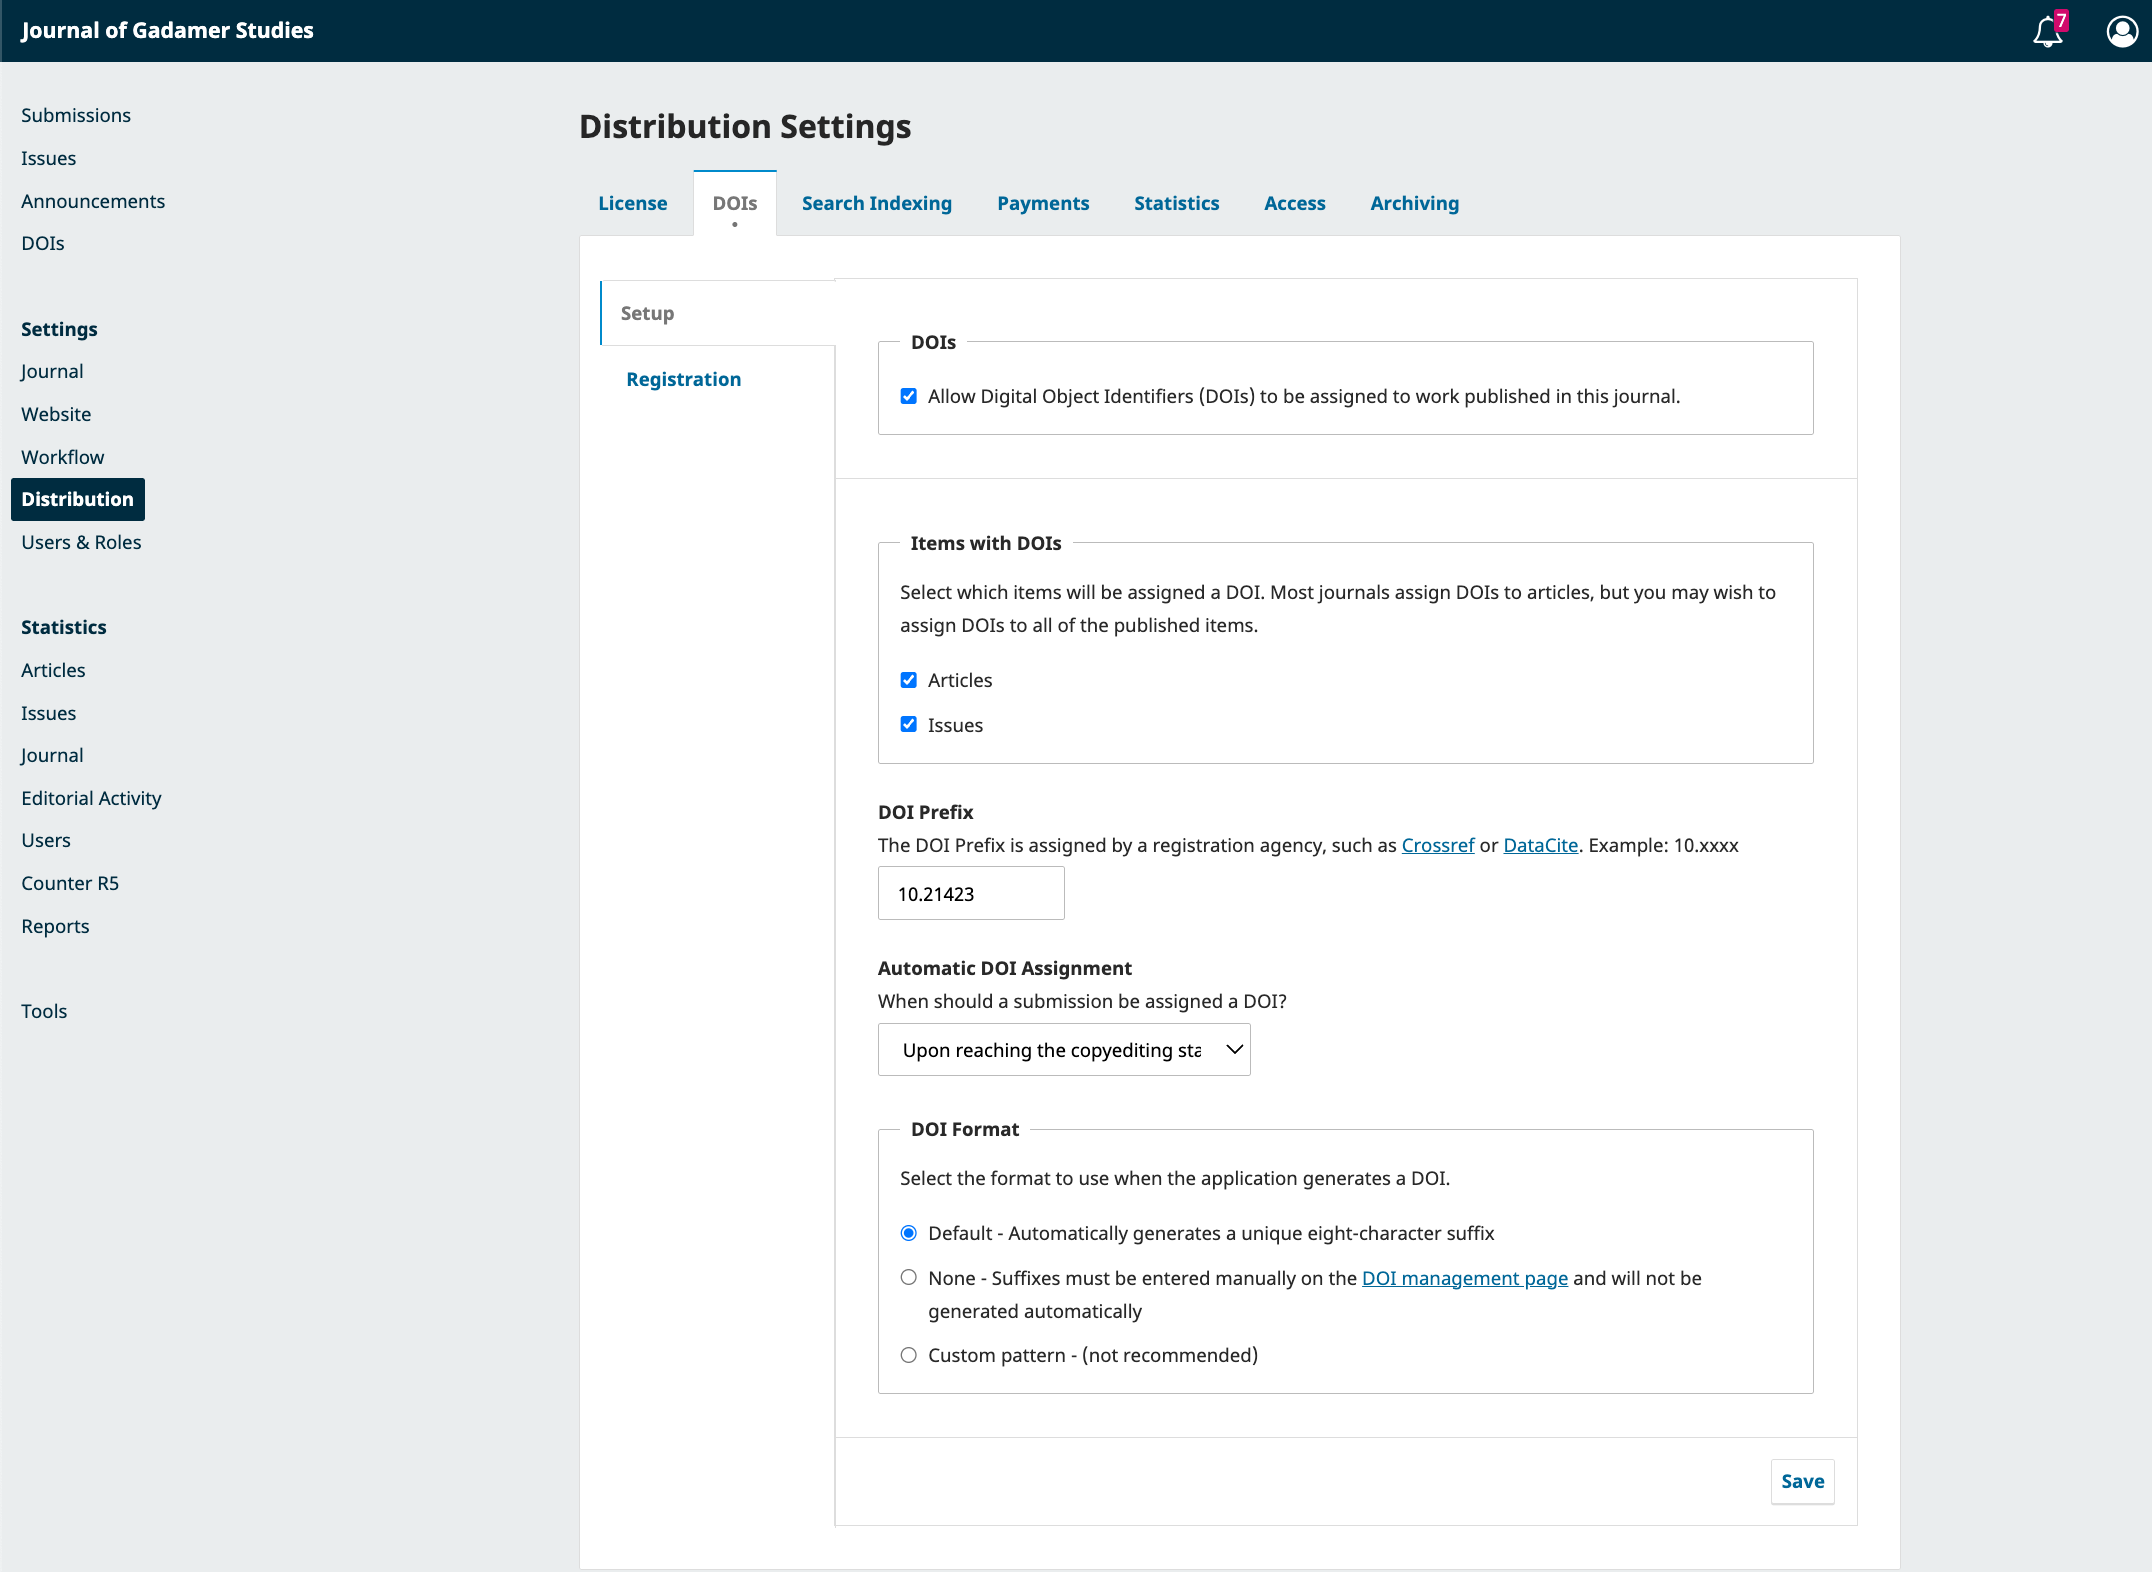
To setup DOIs intially, go to Distribution - DOIS - Setup. From here, check allow. For the DOI Prefix, always use 10.21423.
Consult with the journal team about Automatic DOI Assignment. If they intend to add the DOI to the PDF, Upon reaching the copyediting stage
should be chosen. The DOI Format should always be Default.
Since we use Crossref and personal email accounts for authentication, you must set your user name like so: email@example.com/role.:align:
You can find your role in the Crossref Admin portal.
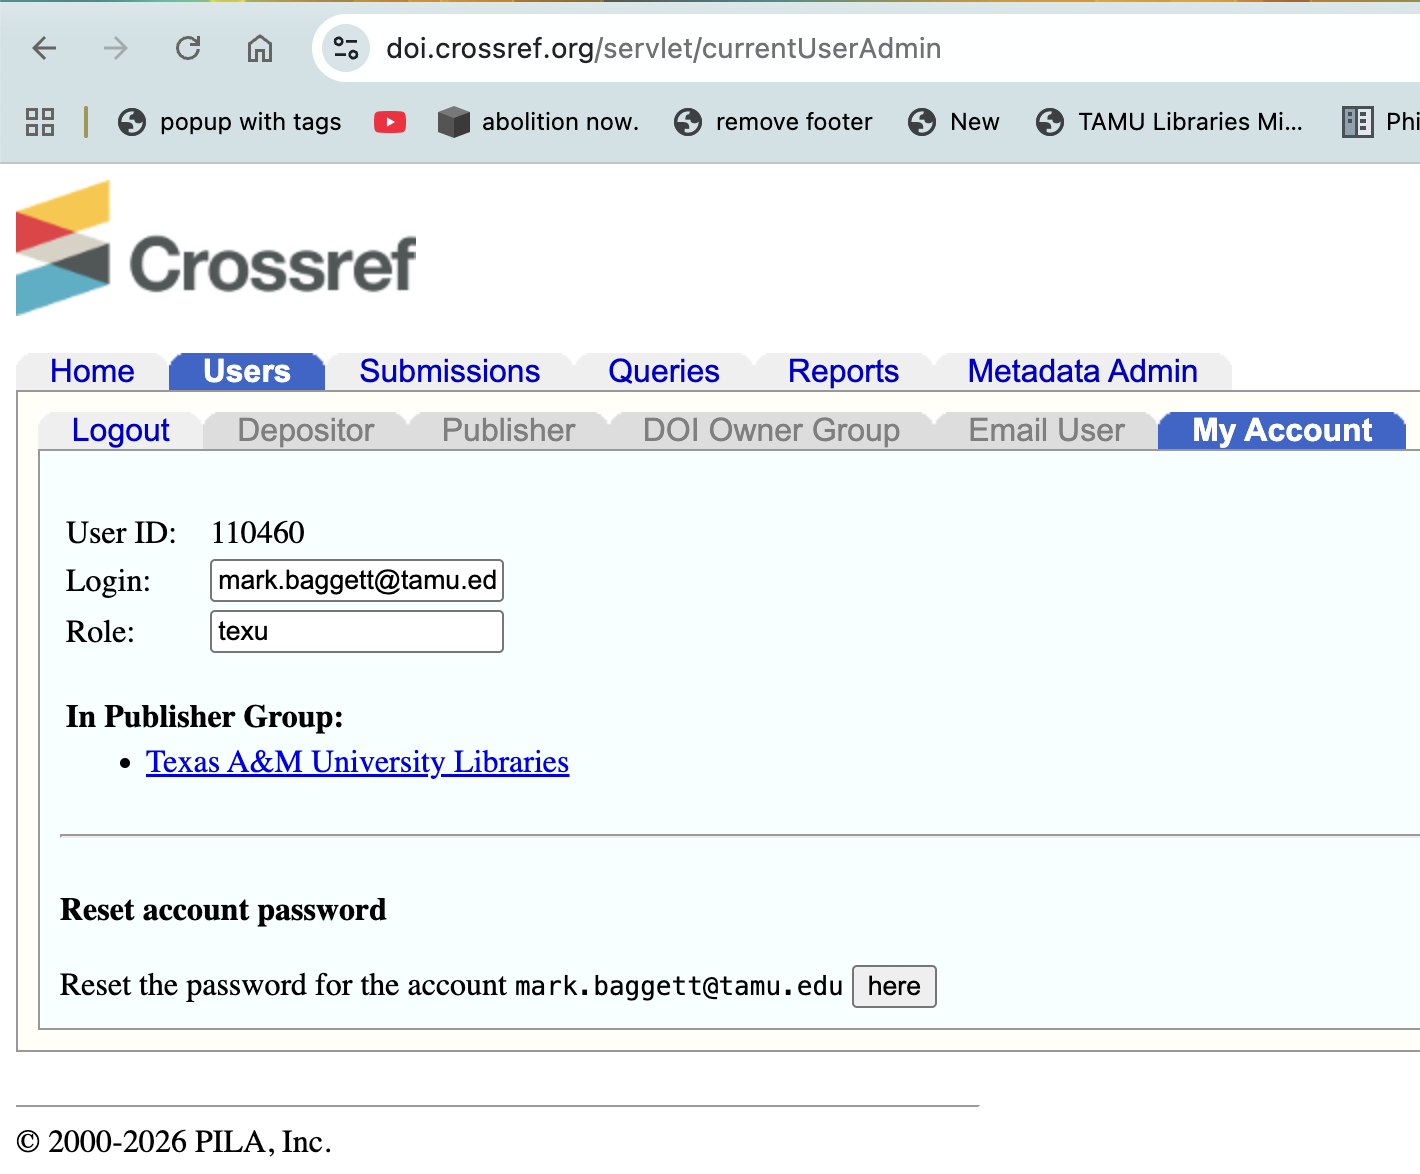
Following this pattern, I would set my username to mark.baggett@tamu.edu/texu.
DOI Registration
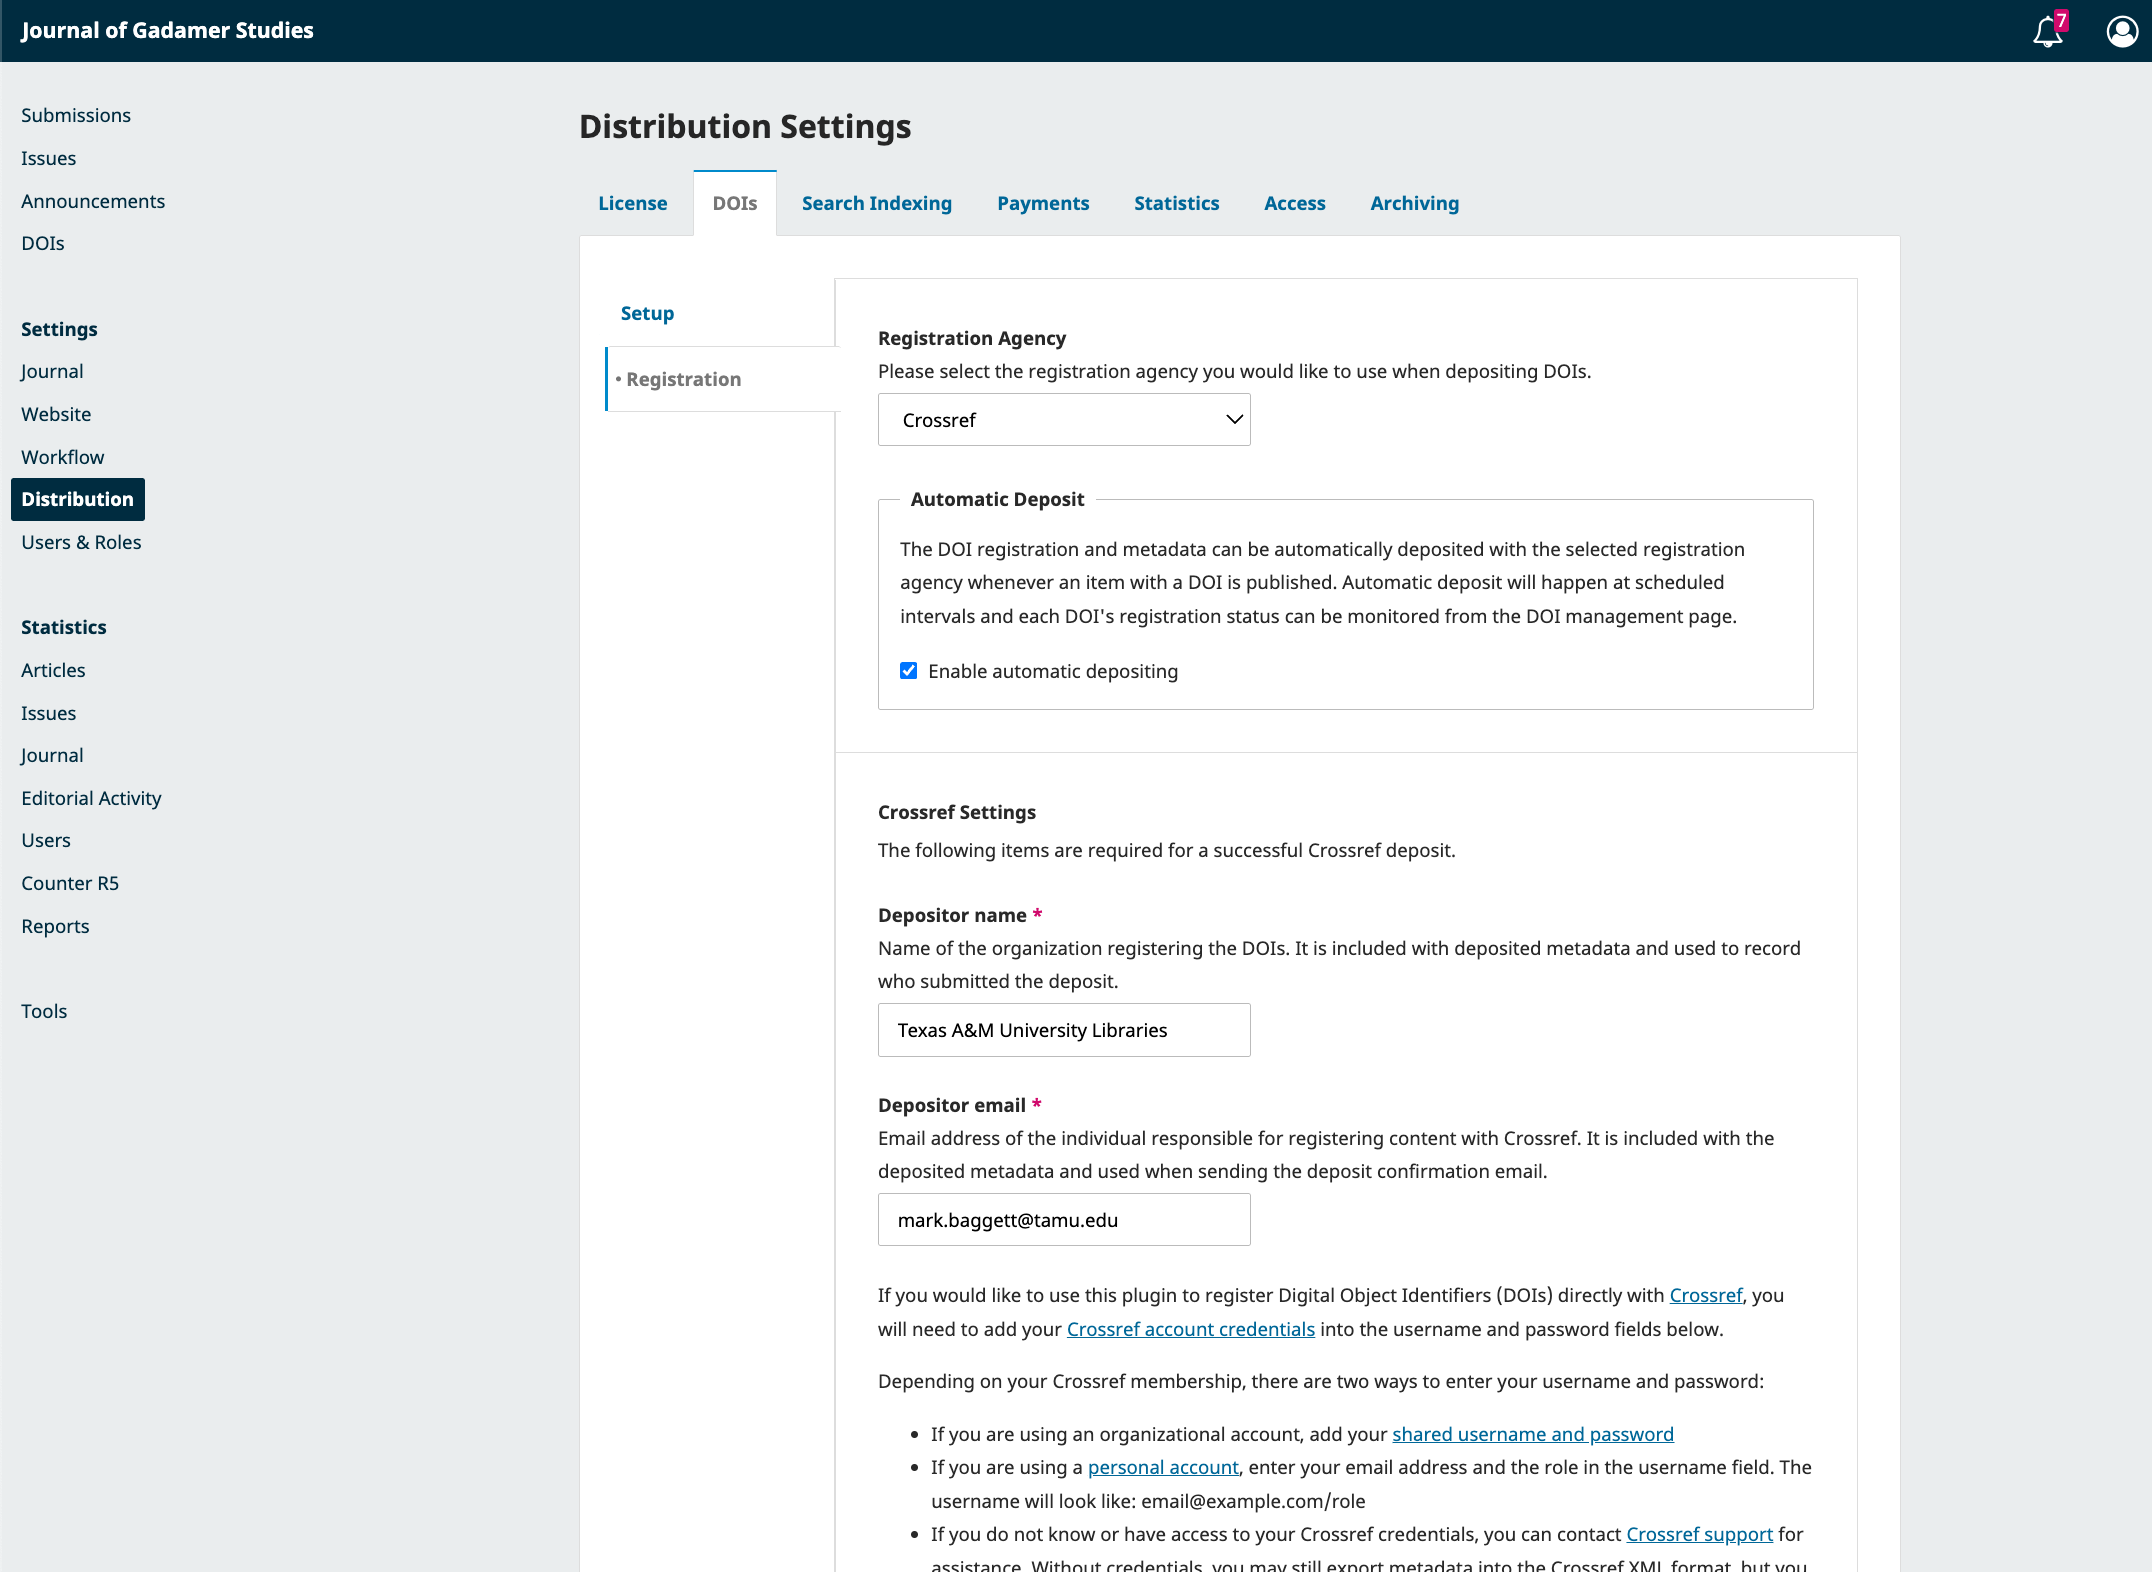
To setup DOI registration, you need to install the Crossref Manager Plugin. This will make the
DOIs Registration page appear. Set up details with you email address, a name for the registrant, and Crossref Account Details.
Addressing Errors
If an article appears with an error on the DOI page, you can click it and resubmit the request to Crossref. If it fails,
the View Error screen will explain why.